 Marblo
Marblo Getting Started — From Download to Your First Finished Agent
A hands-on guide for developers opening Marblo for the first time. ★Before you start: you need your own paid Claude subscription (or API key) and Node.js. Download → Install → Node.js → CLI auth → Connect a folder → First spawn → First completed task — following the flow the first-run popup (connection wizard) guides you through.
Marblo is a platform that runs agents by connecting your own Claude·Codex subscription. So if you haven't used Claude Code before, that very first step — making the initial connection with the orchestrator — can feel a little unfamiliar the first time you open Marblo. Once that first connection is done, everything after it flows smoothly, so please follow the first-run popup (the connection wizard) all the way through when you first launch the app. This guide walks through the flow that connection wizard guides you along, from download all the way to the moment your first agent finishes a ticket end to end.
It's written developer-first, but it includes the Node.js install step so that someone new to AI tooling can also get through it alone.
★Before you start — two things you'll need (connect your own account)
Marblo runs agents by connecting your own AI account. So to start you need two things, and with both in place your initial connection and first spawn go smoothly.
Requirement 1 — your own paid Claude subscription (or API key)
The agents Marblo spawns run on the Claude Code CLI, and Claude Code only actually works with a paid plan (Claude Pro or higher) or an Anthropic API key. If you run claude login with a free account, the login itself succeeds, but the first task silently fails.
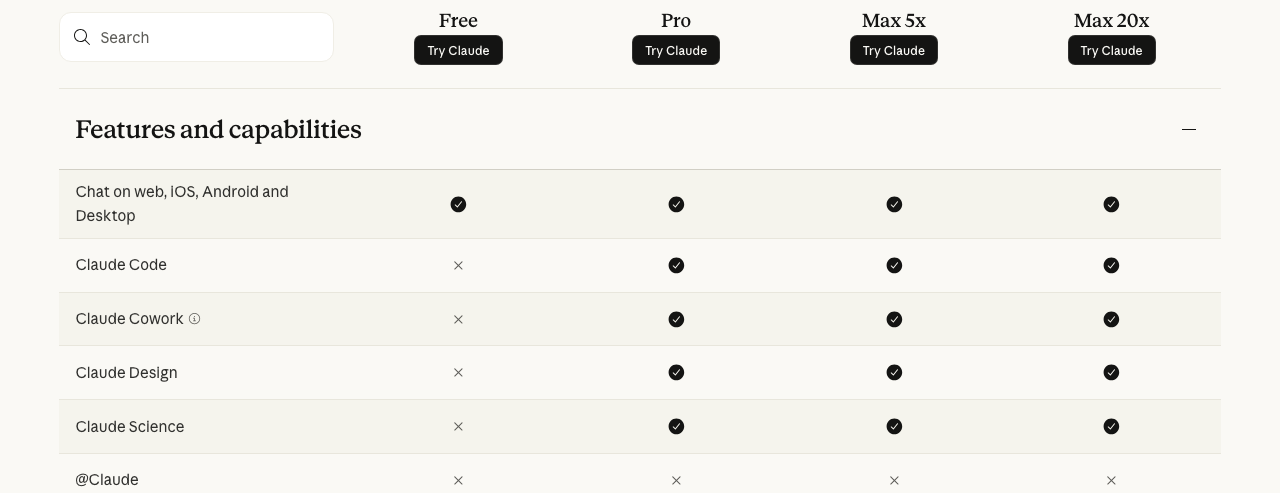
- Smoothest path: if you already use Claude Pro (or Max), just run
claude login. - API key also works: get an
ANTHROPIC_API_KEYand it runs without a subscription. You pay per usage. - If you'll use Codex, OpenAI is the same — a paid ChatGPT subscription or an
OPENAI_API_KEY.
The point: the Marblo app itself is free to use, but agents run on your own subscription or API key (the model) that you connect. So the actual model usage is billed to the account you connect. Get this connection ready before you start and the first spawn flows smoothly.
Requirement 2 — Node.js / npm
The agent CLIs (Claude Code · Codex) install as npm packages, so your machine needs Node.js and npm. If you're a developer you probably already have them; if not, you'll install them in five minutes in Step 2 below.
To check what you have right now, type this in a terminal:
node -v && npm -v
If version numbers appear (e.g. v20.11.0 / 10.2.4), you're ready. If you see command not found, go to Step 2.
Step 0 — Founder approval & app download
Right now Marblo ships the desktop app only to founders (selected beta users). So if you go straight to the download page, you'll see a sign-in / apply prompt instead of the app.
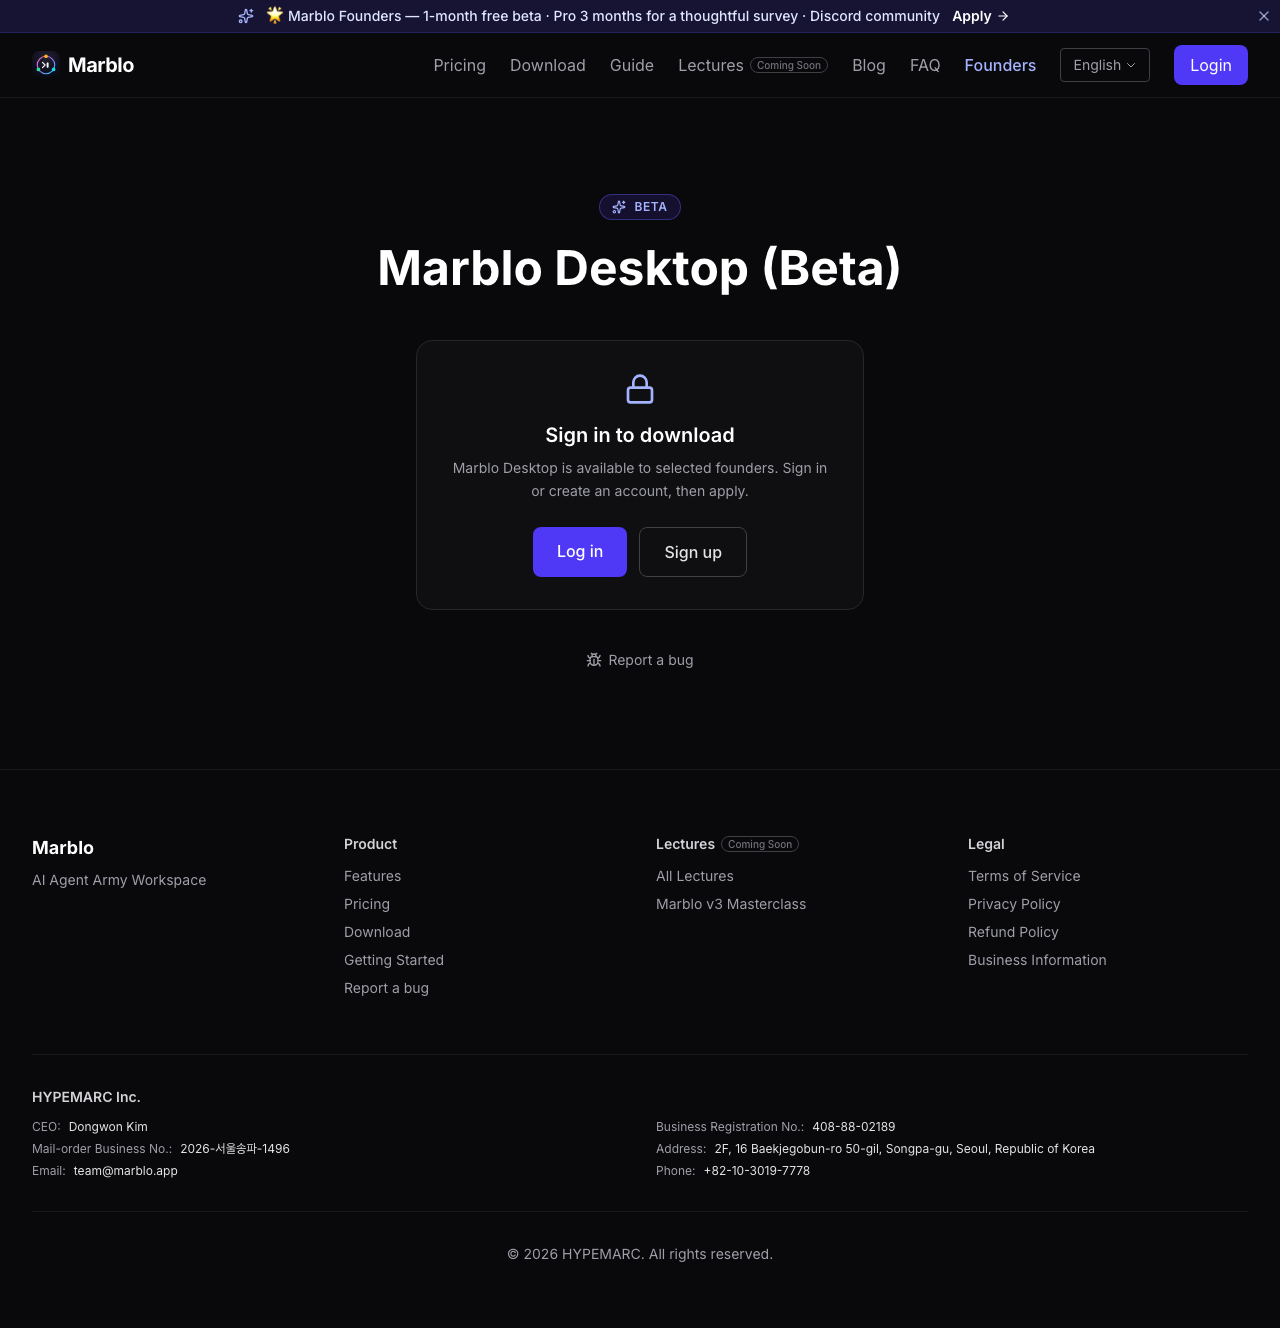
Here's the order:
- Apply on the Founders page with a one-line email (it's reviewed and selected, not first-come).
- If selected, access instructions arrive by email.
- While signed in, open the download page — only then can you grab the macOS (Apple Silicon) or Windows build.
Step 1 — Install and first launch
Run the file you downloaded.
- macOS: open the
.dmgand drag Marblo into your Applications folder. - Windows: run the installer as-is.
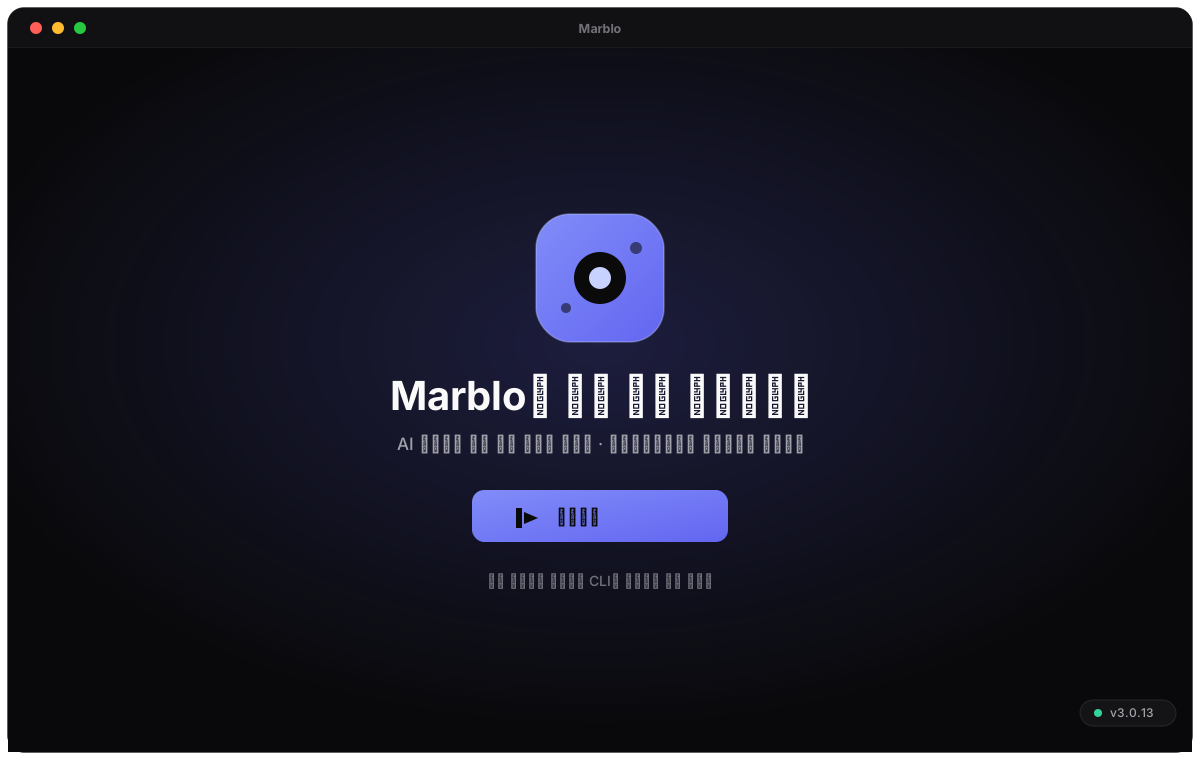
On first launch you may see a macOS Gatekeeper or Windows SmartScreen warning. It's a properly signed and notarized build, so get past it like this:
- macOS:
System Settings > Privacy & Security→ "Open Anyway". - Windows:
More info > Run anyway.
Step 2 — Install Node.js / npm
If node -v gave you command not found, fix it here. If you already have it, skip this step.
- Go to nodejs.org.
- Click the green "Get Node.js®" button (the LTS version, e.g. v24.x) to download the installer.
- Run the installer as-is. npm comes bundled with Node.js.
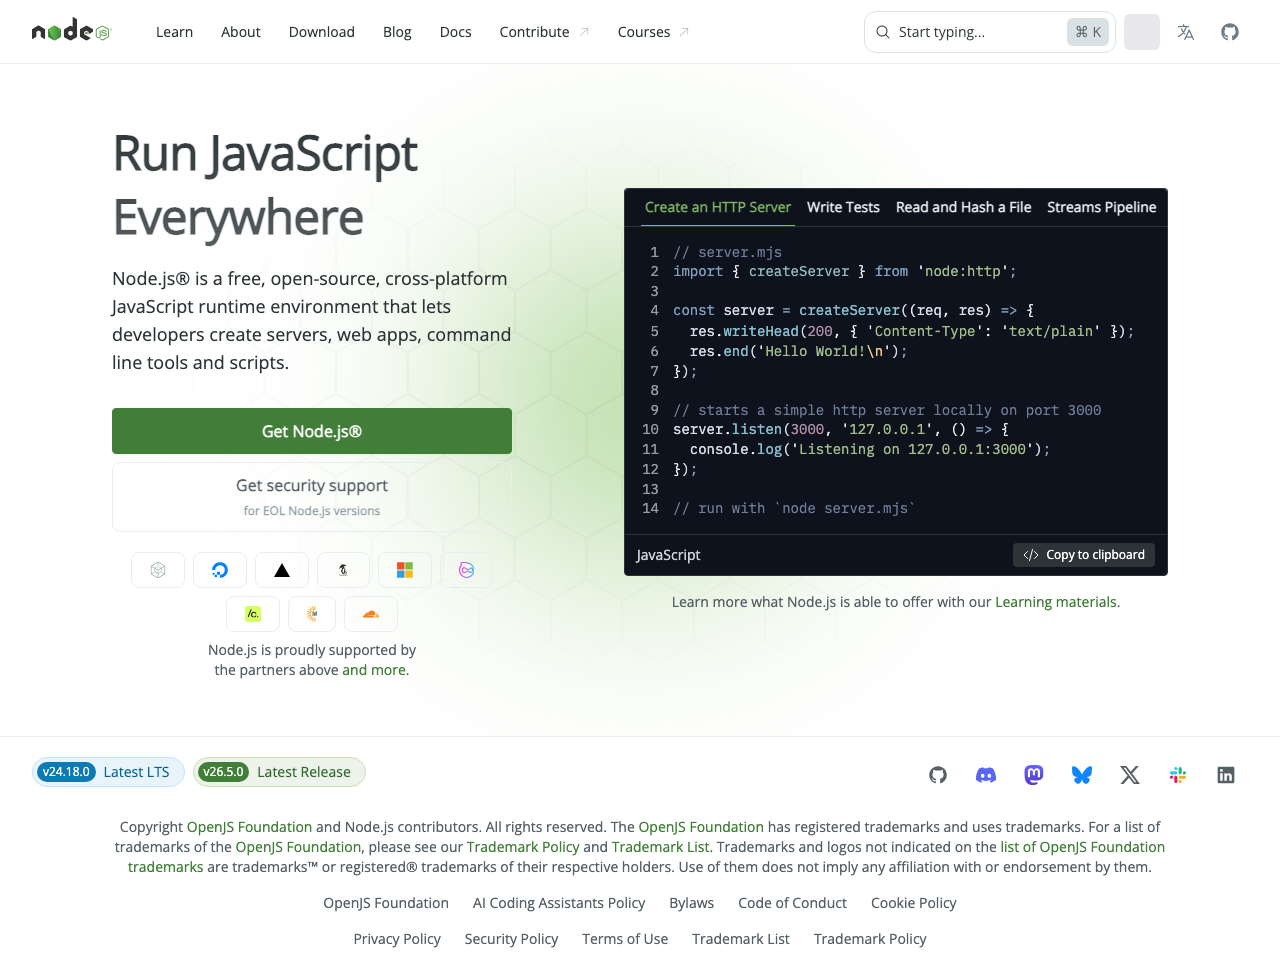
On a Mac and comfortable with the terminal? One-line install with Homebrew. If you already have Homebrew, you can install Node.js and npm together with a single line instead of downloading the installer:
brew install node
If you don't have Homebrew, the nodejs.org installer above is simpler. Either one works — just pick whichever is easier.
When it's done, open a new terminal and check again:
node -v && npm -v
If both version numbers appear, your Node.js setup is done.
Why is this needed? Marblo's one-click install installs the agent CLIs with
npm install -g. Without npm, installation fails and the app tells you "npm not found. Install Node.js / npm and try again." Installing Node.js first skips that detour entirely.
Step 3 — One-click install the CLIs & authenticate
This is where new users get stuck most often. Stay calm; there are only two things to do: (a) confirm the CLIs are installed, and (b) authenticate with your own paid account.
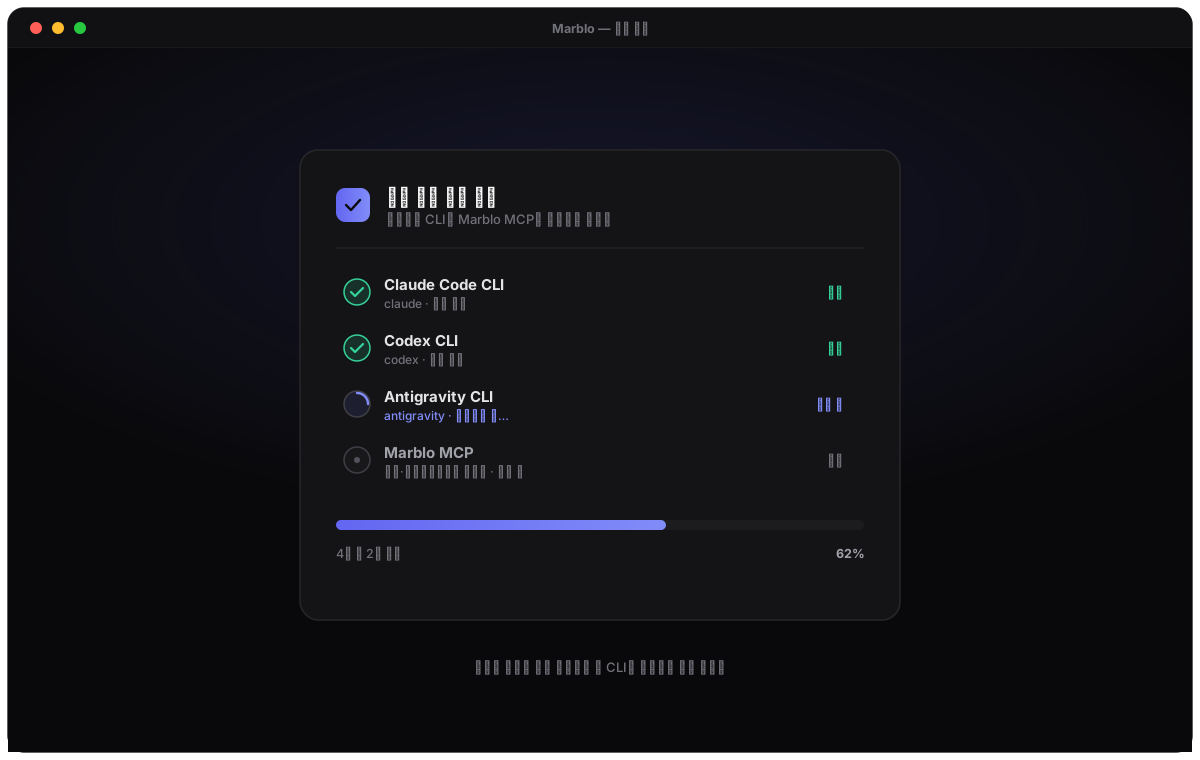
3-1. Install the required CLIs in one click
After first launch, click the install button and Marblo installs Claude Code · Codex · the Marblo MCP in one pass. (If you installed Node.js in Step 2, this install can proceed immediately.)
3-2. ★Authenticate — this is where a paid account is required
When you try to open the orchestrator, Marblo shows a CLI auth gate. Click "Run authentication" and a terminal tab opens with the login command auto-typed. If you'd rather type it yourself:
claude login
When the browser opens, sign in with your own Anthropic account. If you'll also use Codex:
codex login
⚠️ Just remember one thing here. The gate only says "sign in," which makes it look like a free login is enough. But:
- Signing in alone isn't enough — the account you signed in with needs a subscription or API credit (Claude Pro/Max, etc.) connected to actually work.
- Sign in with a free account and the gate passes you as "ready," but the first spawn stops right away. When that happens, don't panic — check Requirement 1 (a subscription / API key) in "Before you start — two things you'll need" at the top.
Once authentication finishes, each CLI flips to an "authenticated" state. If the state doesn't update, restart the app.
Step 4 — Connect a folder → orchestrator opens automatically
Once you're authenticated, it's the easy road. Just pick one project folder and Marblo auto-registers it (zero clicks) and opens the orchestrator automatically.
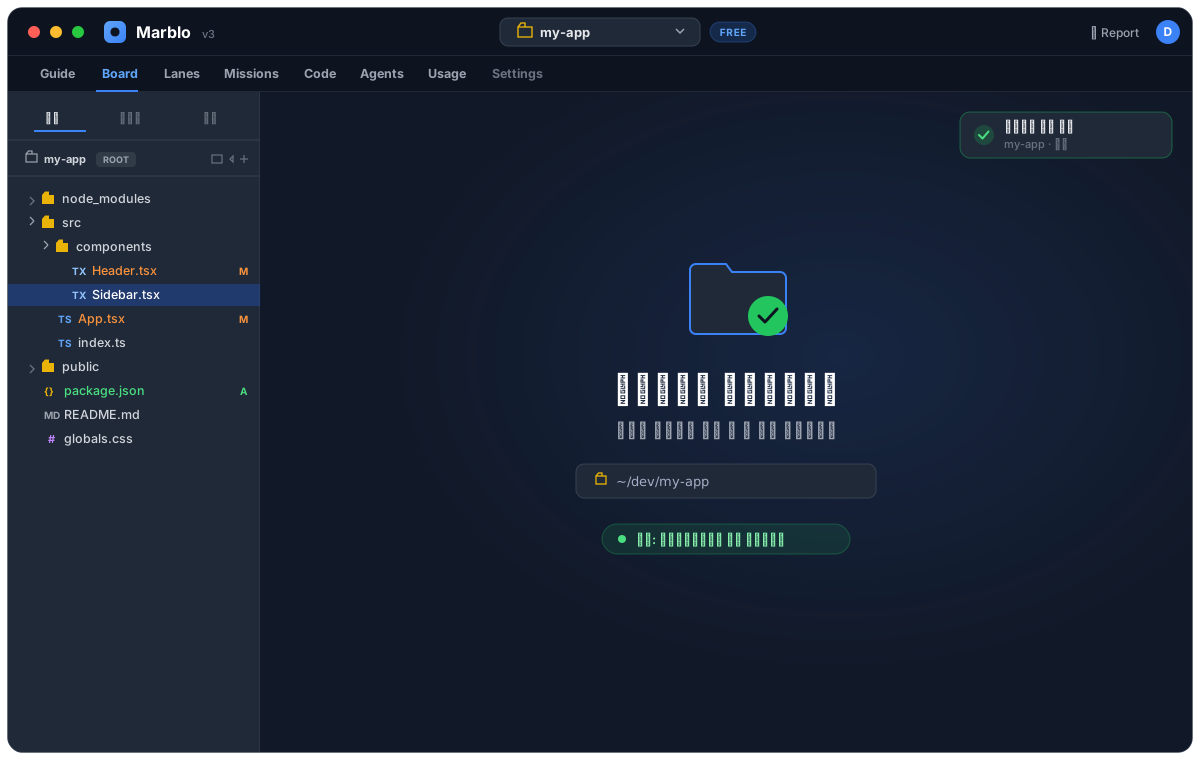
The orchestrator is your command center. When the folder connects, it greets you and suggests "what ticket should I create / which agent should I attach."
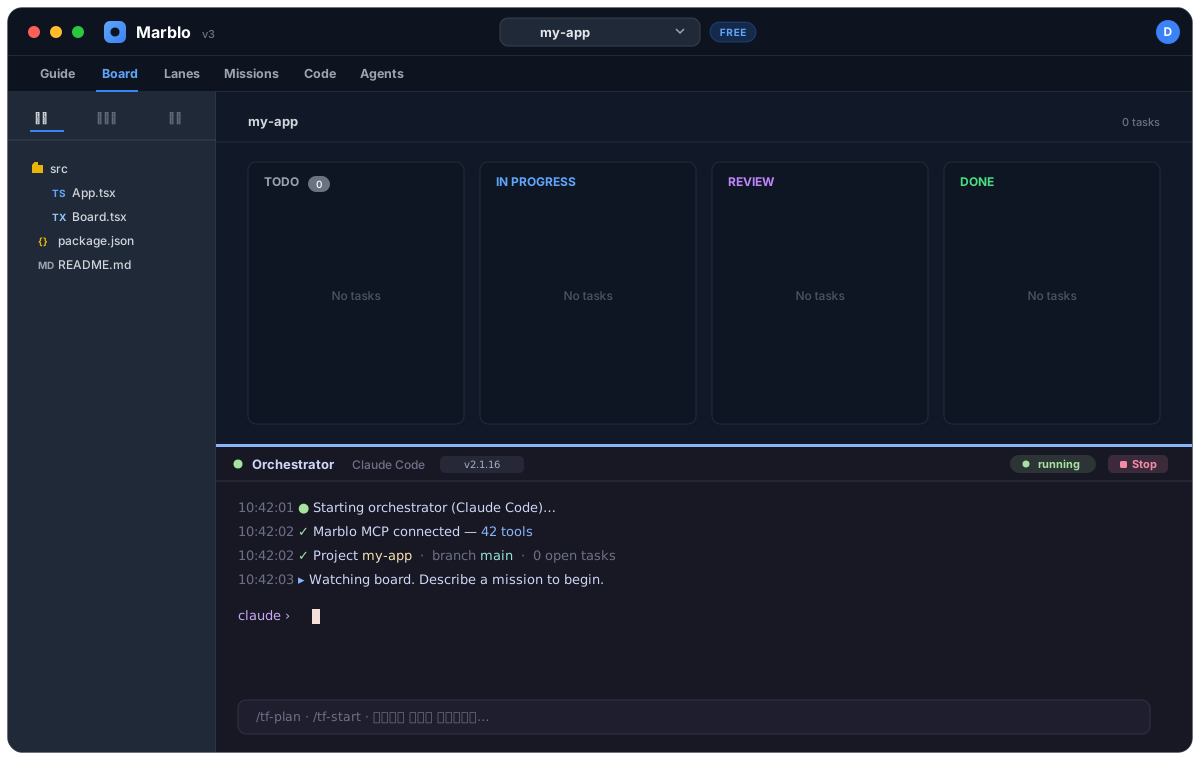
Step 5 — Your first agent spawn
Just tell the orchestrator what you want in natural language. For example:
"Create a ticket to add an installation section to the README, and attach an agent."
The orchestrator creates the ticket and spawns a physical agent (a standalone CLI process). The spawned agent reads and writes actual code in its own terminal tab.
At this moment your earlier auth and subscription connection are tested again. With auth and a subscription (or API credit) in place, the agent stays alive and starts working. If it dies right away into an "error" card → re-check the subscription connection from Step 3.
Step 6 — First completed task (the value moment)
When the agent finishes, it moves the ticket to REVIEW. You check the result (diff, change summary) and approve. The ticket flipping to DONE is Marblo's core value moment — the point where your role shifts from someone who types to someone who delegates and reviews.
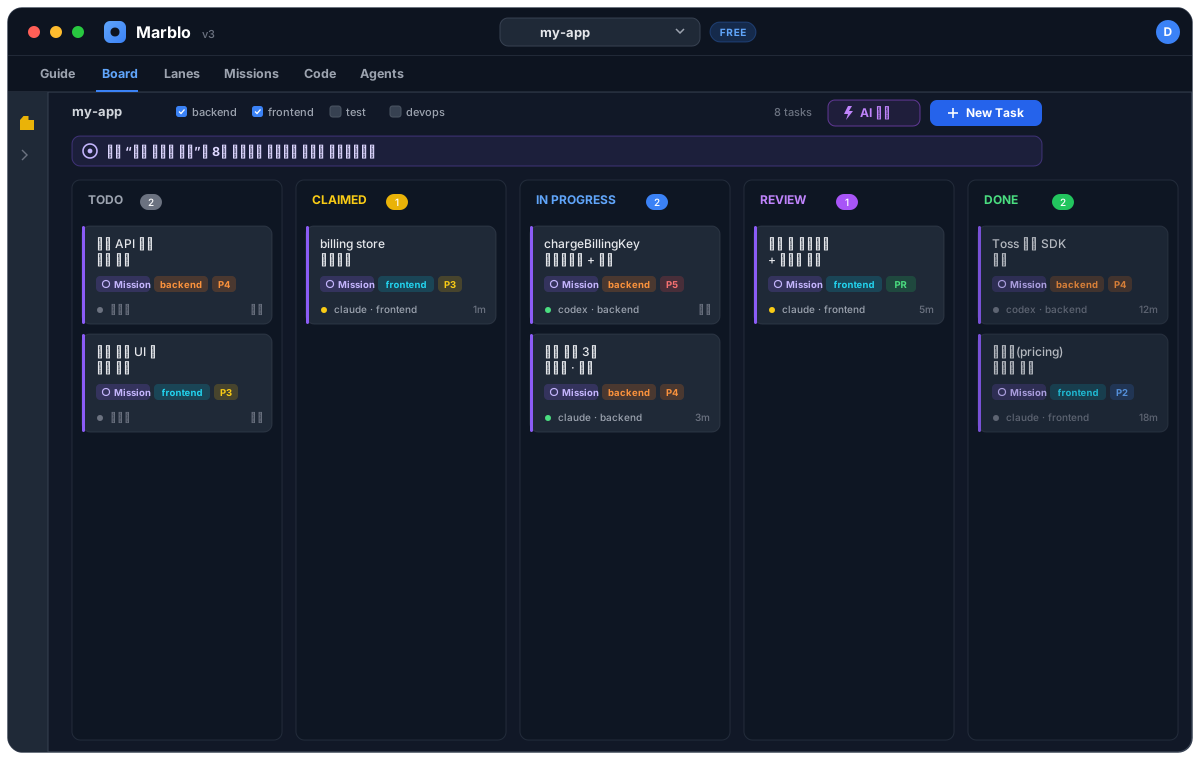
If you got here, congratulations. You've completed all three steps of the initial connection, and watched an agent finish a ticket end to end with your own eyes.
Stuck? — Initial-connection troubleshooting
- When the app says "npm not found" — Install Node.js via Step 2, open a new terminal, and retry.
- When the auth gate won't go away or keeps asking you to "sign in" — Complete
claude loginfully, sign in via the browser, then restart the app. - When you're signed in but the agent dies right away (error card) — Check that the account you signed in with has Claude Pro/Max or API credit connected. Free accounts stop here.
- When the app won't open on first launch (warning dialog) — Get past Gatekeeper/SmartScreen per Step 1.
- When you're still stuck — Tell us via Report a bug. Where you got stuck shapes the next version.
Next steps
Once you've reached your first completion, the next move is running multiple agents at once. Assign roles to backend, frontend, and test agents, and tie dependent tickets into a DAG — Marblo runs them in parallel while respecting order.
- What is Marblo — the orchestrator-centric big picture
- One developer, many agents — how to work at team scale, solo
- Parallel agents that don't collide — running many agents at once with worktree isolation
Get the two requirements (a paid Claude account + Node.js) in place and Marblo handles most of the rest automatically. You just have to complete that one-time connection.
Related posts
Comments
Comments are coming soon.